Creating your first Laravel Project
Prerequisites
Before you can begin creating your first Laravel project, you'll need to have the following installed in your system
- PHP - Check https://www.php.net/ for the latest version of php and https://laravel.com/ for the latest release of the Laravel. Make sure you have PHP installed on your system. You can check the version of PHP by running php -v on the command line. If you don't know how to install PHP and Composer in you Windows PC, follow Geekforgeeks guide to How to install PHP Composer in Windows?.
- Composer: a tool for dependency management in PHP. It allows you to declare the libraries your project depends on and it will manage (install/update) them for you. Visit https://getcomposer.org/ for more details about the composer. You can check the version of composer by running composer -v
- MySQL server or XAMPP(for windows) or any other SQL server
After the basic dependencies are installed on your system you can now begin creating your first Laravel Project.
Steps to create your first Laravel project
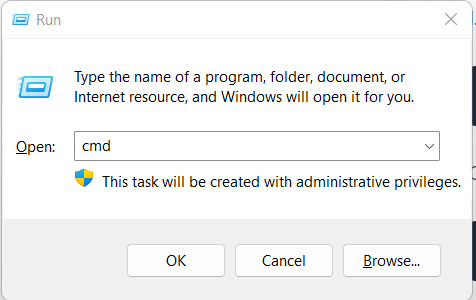
1. Open terminal or command line: You can open the command prompt by using Windows+R keys and typing cmd and hit enter or click OK

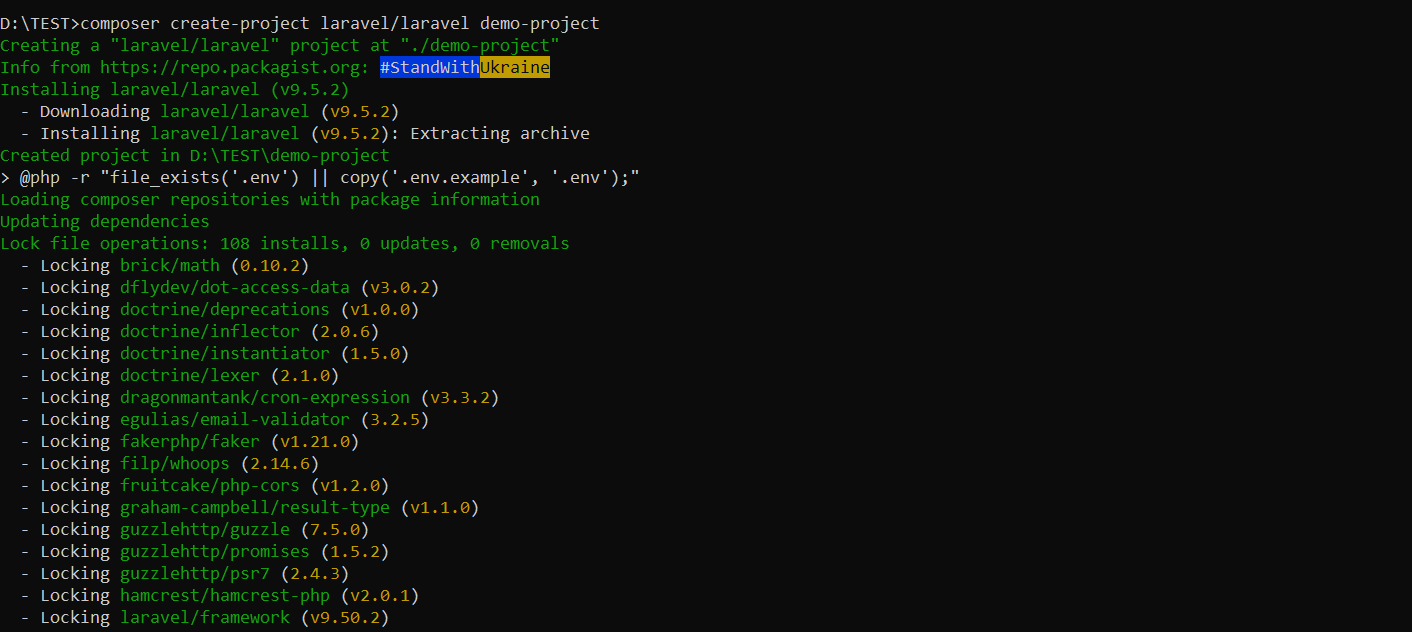
composer create-project --prefer-dist laravel/laravel demo-project
OR
composer create-project laravel/lravel demo-project
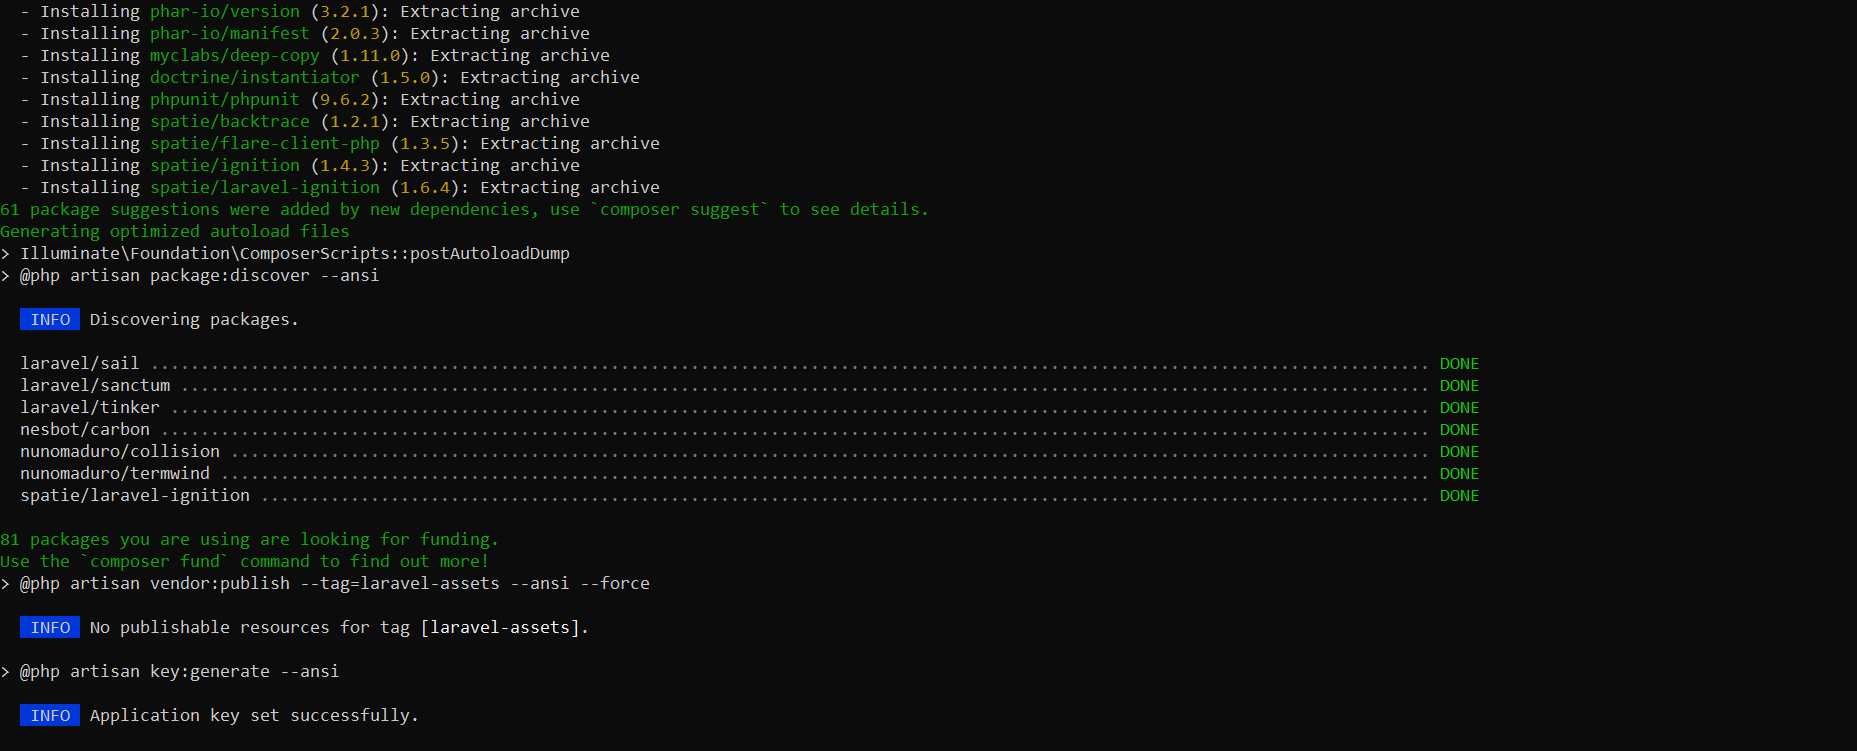
This command will create a new directory named "demo-project" and install the latest version of Laravel inside it.
4. Once the installation is complete, navigate into the project directory by running:
cd demo-project
You can run the following command to check the version of Laravel installed:
php artisan --version
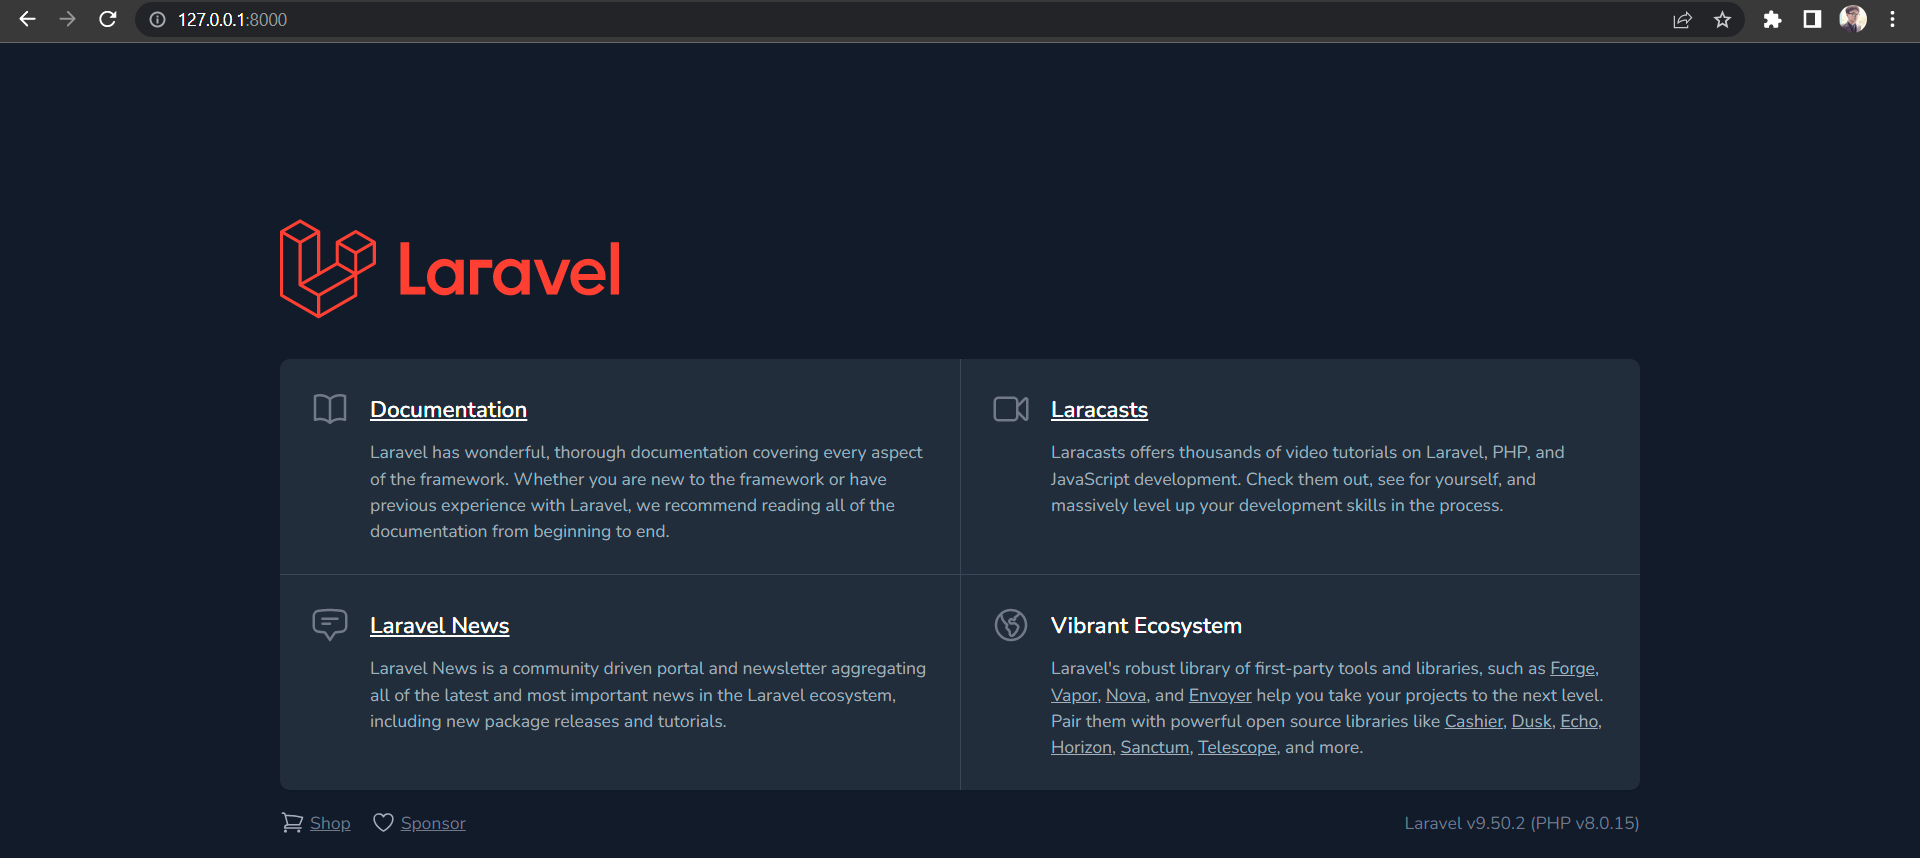
5. You can start the development server by running:
php artisan serve
This command starts a development server at http://localhost:8000/ or http://127.0.0.1:8000 you should be able to access the default welcome page. Just open the development URL in your browser and you should see something like this:
It's worth noting that these steps are a basic overview of how to create a new Laravel project, and there are additional steps and modifications required depending on your specific use case.